Slushable Blog
Slushy Leaks: Find the Source at the Spout, Bowl, or Base
A slushy leak needs a source check before a recipe change. Trace the first wet point, clean and reseat safe parts, and stop if liquid reaches the base.

For slushy leaks, find the first wet point before changing sugar, alcohol, or Brix. A drip at the closed spout usually points to the dispensing path. Wetness around the bowl/body joint points to a gasket or assembly issue. Liquid underneath the machine is a stop-use and support problem. Unplug before removing approved parts, clean and reseat them, and never keep running a unit with liquid inside its base.
TL;DR (Quick Fix)
-
Dry the outside and trace the first wet point. Liquid can travel down from a spout or bowl seal and make the base look guilty.
-
Spout leak: stop the machine, unplug it, clean sticky residue from removable dispensing parts, and reseat them according to the owner guide.
-
Bowl/body leak: inspect the gasket groove and seating surface for film, twists, cracks, or warping.
-
Base leak: stop using the machine, unplug it, keep liquid away from power, and contact the manufacturer through SharkNinja support. Do not open the electrical base.
-
Do not change Brix as the first response. Recipe chemistry can change flow, but it does not prove a seal failure.
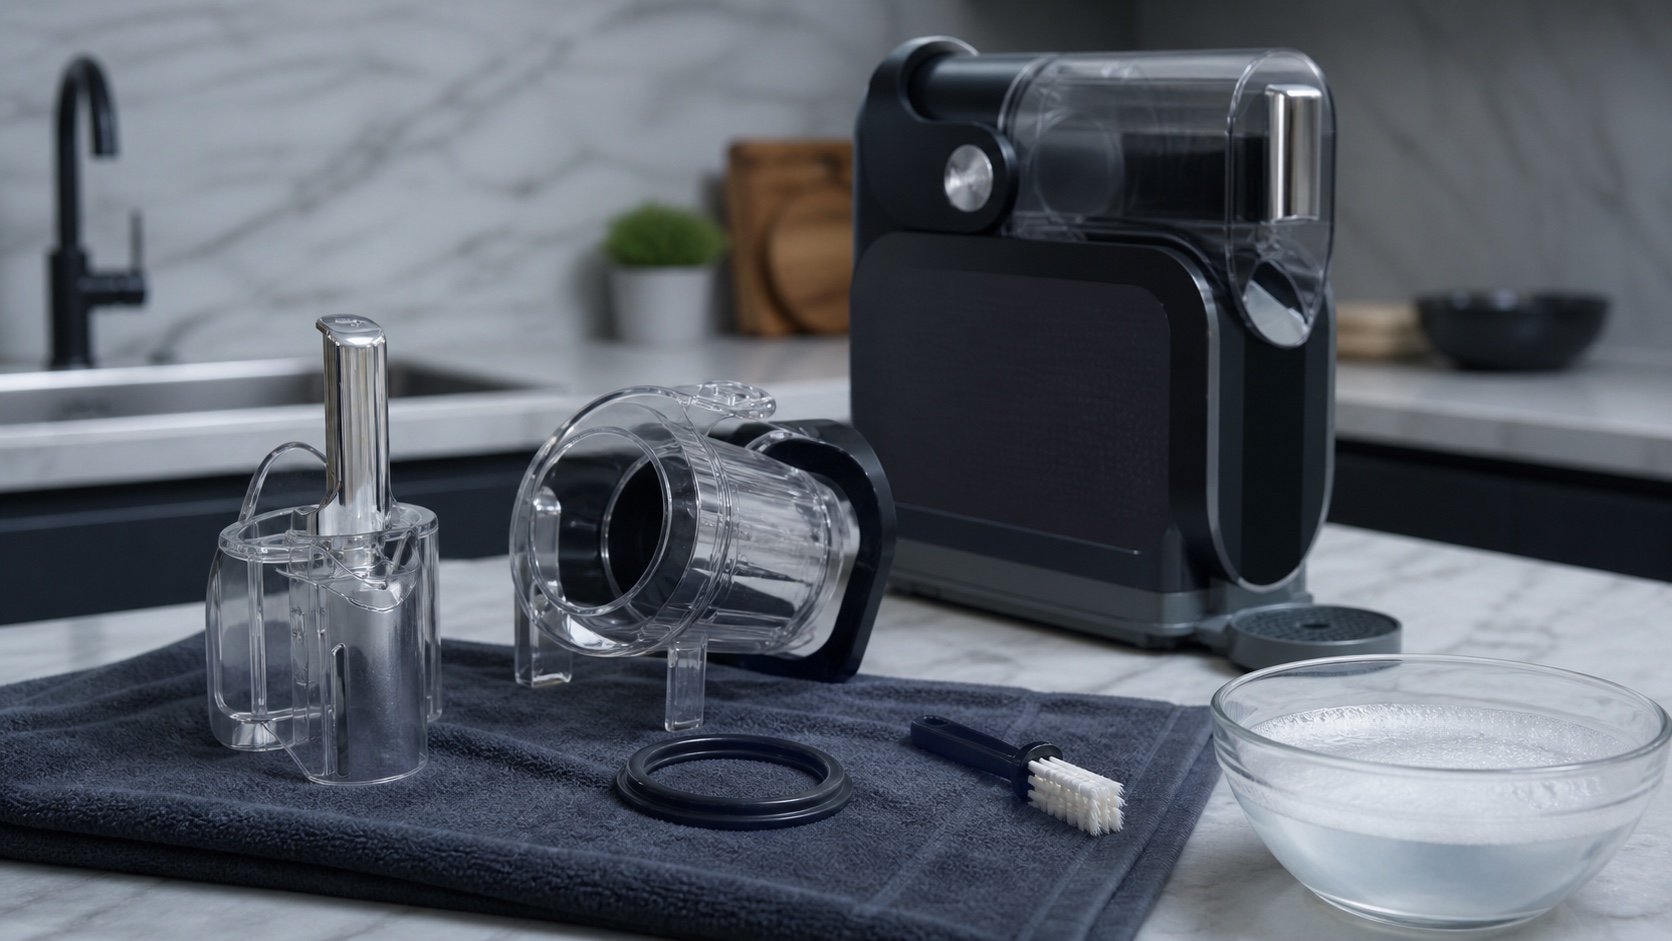
Find the first wet point
Before touching a seal, stop the machine and wipe the exterior dry. Never reach into a moving chamber or work around a powered unit with a wet counter. If the owner guide requires a different cleaning or disassembly order, follow that guide.
Run the smallest safe check you can. Watch the first place that becomes wet, not the lowest place the liquid eventually reaches.
- Closed spout, handle, or drip tray: suspect the dispensing seal, valve seating, or sticky residue. Unplug, clean approved removable dispensing parts, inspect for damage, and reseat.
- Ring around the bowl/body joint: suspect the bowl gasket, groove, or uneven assembly. Unplug, remove only approved parts, clean and dry the groove, inspect the gasket, and reinstall evenly.
- Under the body or inside the base: treat it as a possible path into internal components. Stop using the machine and contact the manufacturer. Do not open or rinse the base.
The Ninja frozen-cocktail guide is a useful example of model-specific operating guidance, but it does not provide a universal leak diagnosis. Treat your own owner guide as the authority for removable parts, fill limits, and service.
Spout leaks: start with the dispensing path
A spout that drips while closed is the easiest leak to misread. A small amount of slush can cling to the outlet after dispensing; a continuing drip suggests that residue, a valve, or a seal is not closing cleanly.
- Stop and unplug the machine.
- Remove only the dispensing pieces your owner guide identifies as removable.
- Wash away syrup, fruit pulp, or dried mix with the approved cleaning method.
- Inspect clear plastic and rubber for cracks, flattening, nicks, or a part that no longer seats squarely.
- Rinse, dry, and reinstall without forcing the handle.
- Test with a small amount while watching the first wet point.
Do not use a random lubricant. “Food-safe” does not automatically mean safe for a particular seal, plastic, or appliance. Use only a product and procedure named by the machine’s current guide.
Bowl or body leaks: inspect the gasket seat
If the wet ring starts where the chamber meets the body, the problem is more likely assembly or the bowl seal than the drink’s Brix. Sticky film in a groove can hold a gasket slightly proud; a twisted or worn gasket can let liquid find a path around the joint.
- Unplug the machine and empty it using the owner guide’s procedure.
- Clean the gasket, groove, and mating surfaces.
- Check the gasket for a twist, split, flattened section, or hardened edge.
- Reinstall it evenly, without stretching or pinching it.
- Reassemble the bowl straight and confirm that every latch or handle is fully seated.
- Run a small controlled test while keeping the counter and power area dry.
If the leak returns with a clean, correctly seated part, stop repeating the batch. The seal or assembly may need a manufacturer-approved replacement or service.
Base leaks: stop and escalate
Liquid under the machine is not a recipe-tuning problem. It may have travelled from a higher point. Treat the base as contaminated until you prove the source is external.
- Stop the machine.
- Unplug it from a dry position if it is safe to do so.
- Move liquid away from the plug and outlet.
- Do not open the base, spray it, or keep running it to “see what happens.”
- Contact the manufacturer or SharkNinja support with the model and symptom.
The official support route can tell you which parts are user-serviceable and what remains under warranty. This article cannot safely diagnose internal electrical or refrigeration components from a puddle. Keep the base closed.
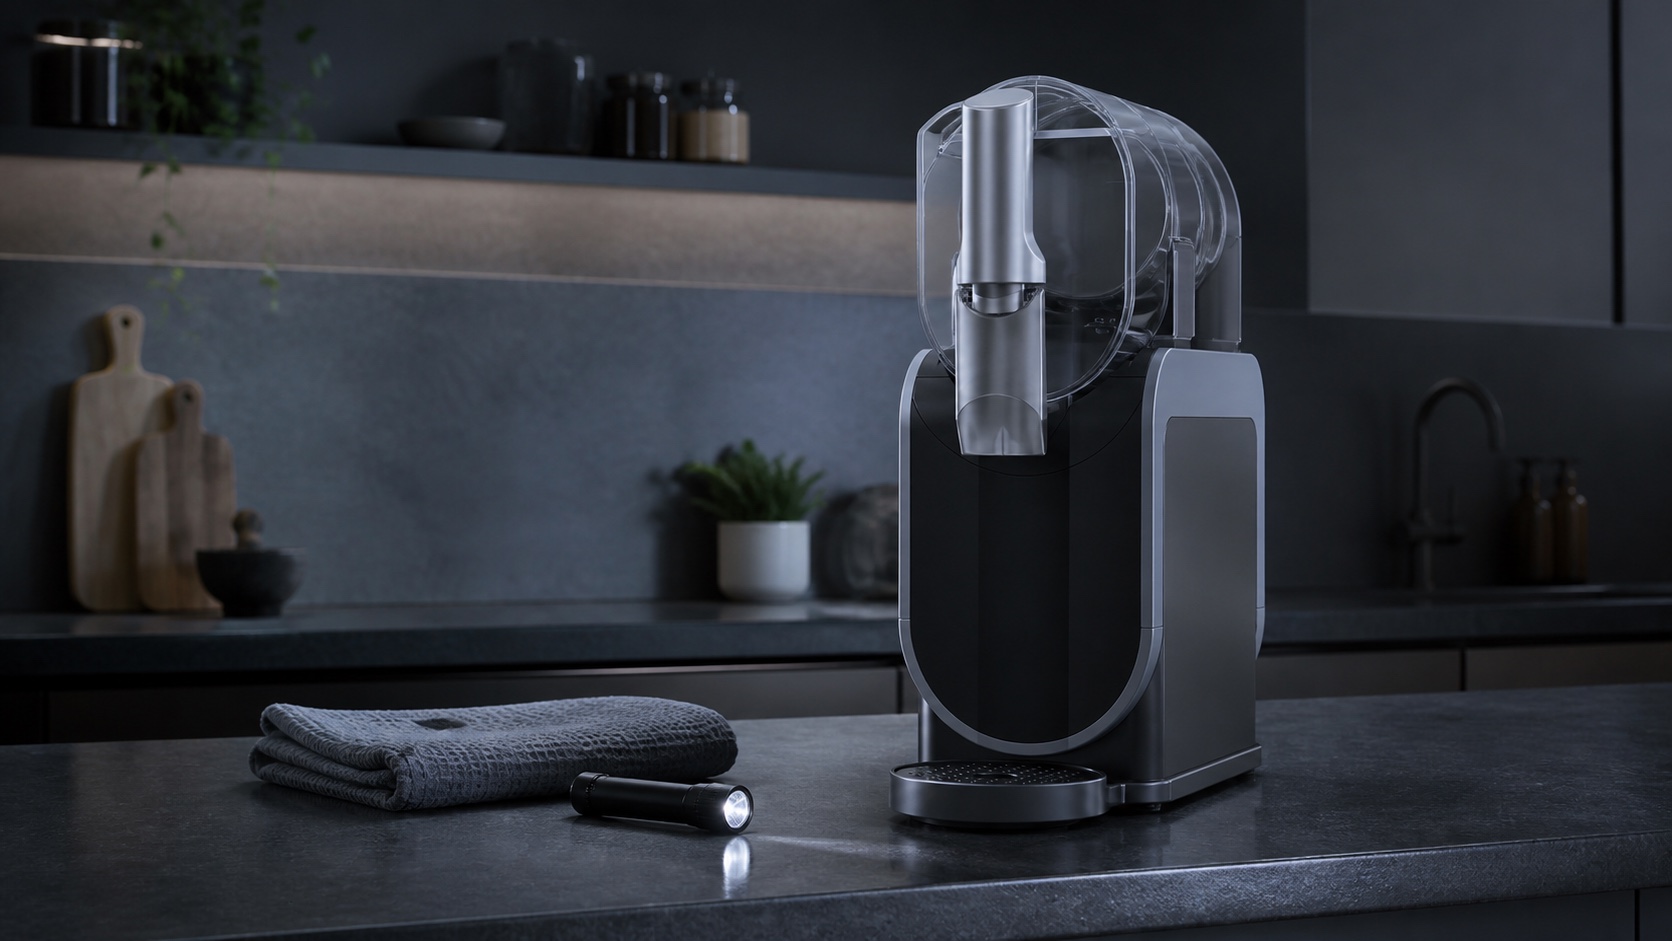
When mix chemistry is part of the clue
Chemistry can change how a drink moves through a spout, but it is not the first explanation for a wet gasket or base. If the leak is gone but the drink is also too thin, too hard, or failing to freeze, run a separate batch check with the Slushable ratio calculator. For Brix context, use the Sugar to Brix calculator. Do not change the recipe merely because liquid appeared on the counter.
How to prevent repeat leaks
- Rinse sticky mixes promptly after serving.
- Clean the dispensing path and gasket groove on the schedule in the owner guide.
- Dry removable seals before storage and avoid pinching them in the chamber.
- Stay below the approved fill line.
- Keep the machine level and leave the required airflow clearance.
- Replace seals only with manufacturer-approved parts.
- If a clean, correctly assembled machine leaks again, stop troubleshooting by trial and contact support.
For a slow or sticky dispense without a broader leak, use the sticky-spout guide. For a machine that is also staying liquid, use the slush machine not-freezing guide.
FAQ
Why is my slush machine dripping from the spout after a run?
Residual mix or sticky film can keep a dispensing part from sealing cleanly. Stop, unplug, clean the approved removable parts, inspect the seal, and reseat them. If the drip continues, use the owner guide or manufacturer support rather than adding lubricant.
Why is liquid coming from the base?
Liquid may have travelled from a higher leak, but you cannot safely assume that. Stop using the machine, unplug it if safe, keep liquid away from power, and contact the manufacturer if the source is not clearly external.
Should I change the sugar or alcohol ratio to stop a leak?
No. Chemistry can affect viscosity and drip behavior, but a leak at a gasket or base is an assembly or hardware question first. Fix the leak path; then use the Slushable ratio calculator for a separate freezing/texture problem.
Can I lubricate a slush machine gasket?
Only if the current owner guide names the product and procedure. Otherwise, clean, dry, inspect, and reseat the seal. Do not assume a generic food-safe lubricant is appliance-safe.
Related reading
Recipes to make next
Slush recipes from the library that fit this guide — every one balanced to freeze in a home machine.
- BourbonVerification status: Tried & tested

Bourbon Walnut Old Fashioned Slush
View - ProseccoVerification status: Tried & tested

Sarti Rosa Prosecco Spritz Slush
View - ProseccoVerification status: Tried & tested

Sarti Spritz Slush
View - PineappleVerification status: Tried & tested

Piña Colada Slush
View - PineappleVerification status: Tried & tested

Piña Colada Slush
View - BananaVerification status: Tried & tested

Banana Mama Slush
View